
Creating a home server for file storage is an effective way to manage and secure your data. With a home server, you can centralize your file storage, making it easier to access and share files across devices. This guide will walk you through the process of setting up your own home server.

By following this guide, you’ll learn how to set up a reliable and secure server that meets your needs. Whether you’re looking to store family photos, important documents, or large media files, a home server provides a flexible and scalable solution.
Key Takeaways
- Understand the benefits of a home server for file storage
- Learn the basic steps to set up a home server
- Discover how to secure your server and data
- Explore options for expanding your server’s capabilities
- Gain confidence in managing your home server
Understanding Home Servers for File Storage
Understanding the basics of home servers is crucial for effective file storage and management. A home server acts as a central repository for your files, making it easier to access and share data across different devices.
What is a Home File Server?
A home file server is a dedicated device or a computer configured to store and manage files for multiple users and devices within a home network. It provides a centralized location for storing documents, photos, videos, and other digital content.
Differences Between NAS and DIY Servers
NAS (Network-Attached Storage) servers are pre-configured, plug-and-play devices designed specifically for file storage. DIY (Do-It-Yourself) servers, on the other hand, are custom-built using individual components, offering more flexibility in terms of configuration and upgrade options.
Common Use Cases for Home Servers
Home servers are useful for various scenarios, including media streaming, file sharing, backup and disaster recovery, and more.
| Use Case | Description | Benefits |
|---|---|---|
| Media Streaming | Stream videos, music, and photos to devices on your network. | Centralized media management, easy access. |
| File Sharing | Share files among family members or team members. | Collaboration, version control. |
| Backup and Disaster Recovery | Backup important data and have a recovery plan. | Data security, peace of mind. |
By understanding these aspects of home servers, you can make informed decisions about setting up your own server, following best server building practices and applying effective server configuration tips to meet your specific needs.
Benefits of Setting Up Your Own File Server
Having your own file server at home can revolutionize how you store and access your files. By setting up a personal file server, you can enjoy several benefits that enhance your data management experience.
Cost Savings Compared to Cloud Storage
One of the significant advantages of a home file server is cost savings. Unlike cloud storage services that charge recurring fees, a one-time investment in hardware can save you money in the long run.
Complete Control Over Your Data
With a personal file server, you have complete control over your data. You’re not dependent on a third-party service, and your data isn’t subject to the limitations and risks associated with cloud storage.
| Benefit | Description |
|---|---|
| Customization | Tailor your server to meet specific needs, from storage capacity to software applications. |
| Energy Efficiency | Modern servers can be designed to be energy-efficient, reducing your electricity bills. |
Customization Options
A home file server offers extensive customization options. You can choose the hardware and software that best fit your needs, ensuring your server is optimized for your specific requirements.
Energy Efficiency Considerations
When building your server, consider energy efficiency. Modern components are designed to consume less power, and selecting the right hardware can help minimize your server’s energy footprint.
Hardware Requirements for Your Home Server
To build an efficient home server, you’ll need to select the right hardware for your needs. The hardware you choose will directly impact the performance and capabilities of your server.
Processor and RAM Considerations
The processor is the brain of your server, handling all the computations. For a home server, a mid-range processor from manufacturers like AMD or Intel should suffice. You’ll also need to consider the RAM; at least 8GB is recommended, but 16GB or more is ideal for smoother performance, especially if you’re planning to run multiple applications simultaneously.
Storage Options and RAID Configurations
Storage is where your files will reside. You can choose between traditional Hard Disk Drives (HDD) for larger storage capacities at a lower cost or Solid-State Drives (SSD) for faster data access times. RAID configurations can provide data redundancy and improve performance. Common RAID levels include RAID 0 for performance, RAID 1 for redundancy, and RAID 5 for a balance between the two.
| RAID Level | Description | Disks Required |
|---|---|---|
| RAID 0 | Striping for performance | 2+ |
| RAID 1 | Mirroring for redundancy | 2 |
| RAID 5 | Striping with parity for balance | 3+ |
Network Interface Requirements
A good network interface card (NIC) is crucial for fast data transfer between your server and other devices on your network. Look for a Gigabit Ethernet or faster NIC to ensure high-speed connectivity.
Power Supply and Cooling Solutions
The power supply should be sufficient to power all your server’s components. A 650W power supply is typically adequate for most home server builds. Adequate cooling is also essential to prevent overheating. You can choose between air cooling solutions, such as fans, or liquid cooling systems, depending on your case and component configuration.
By carefully selecting these hardware components, you can create a home server that meets your specific needs for file storage and sharing, media streaming, and more.
Choosing the Right Operating System
When it comes to setting up a home server, one of the most important decisions is choosing the operating system. The OS you select will significantly impact your server’s performance, functionality, and overall user experience.
Linux Distributions for Servers
Linux is a popular choice for home servers due to its stability, security, and flexibility. Ubuntu Server and Debian are two of the most widely used Linux distributions for servers. They offer extensive community support, regular updates, and a wide range of software packages.
Windows Server Options
For those already familiar with Windows, Windows Server is a viable option. It offers a user-friendly interface and integrates well with other Windows devices. However, it may require more resources compared to Linux distributions.
Specialized NAS Operating Systems
Specialized NAS operating systems like FreeNAS and OpenMediaVault are designed specifically for storage and file sharing. They offer advanced features for managing storage and are often more straightforward to set up for users primarily interested in file storage.
Comparing Resource Requirements
The resource requirements for these operating systems vary. Linux distributions are generally lightweight and can run on older hardware, while Windows Server requires more robust hardware. Specialized NAS operating systems also tend to be efficient but may have specific requirements depending on the features used.
| Operating System | RAM Requirement | CPU Requirement |
|---|---|---|
| Ubuntu Server | 2 GB | 1 GHz |
| Windows Server | 4 GB | 1.4 GHz |
| FreeNAS | 8 GB | 2 GHz |
Choosing the right operating system depends on your specific needs, hardware, and familiarity with the OS. By considering these factors, you can select the best OS for your home server.

How to Montar Servidor: Step-by-Step Installation Guide
In this section, we’ll walk you through the process of setting up your home server, from hardware assembly to user account creation. This step-by-step guide is designed to be easy to follow, even for those new to server setup.
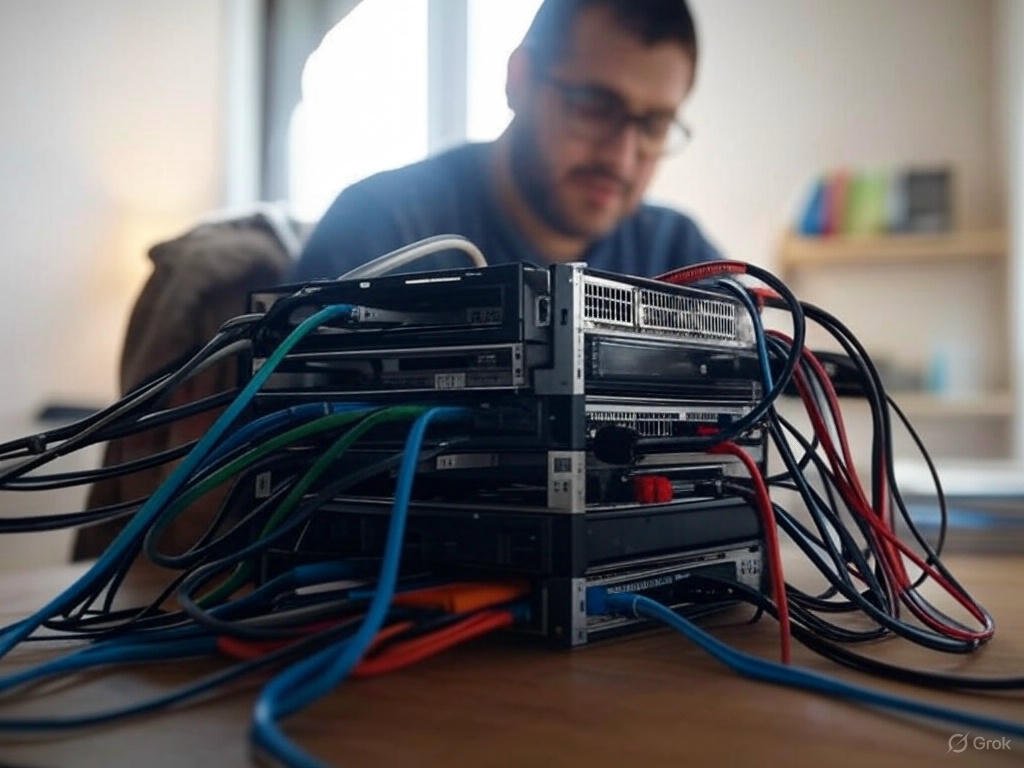
Hardware Assembly Process
Begin by assembling the hardware components of your server. This includes installing the processor, RAM, and storage drives into the server case. Ensure all components are compatible and securely connected.
- Install the processor onto the motherboard, applying a thin layer of thermal paste.
- Add RAM modules to the appropriate slots on the motherboard.
- Install storage drives into the server case and connect them to the motherboard.
Operating System Installation
Once the hardware is assembled, it’s time to install the operating system. Choose a suitable OS for your server, such as Ubuntu Server or FreeNAS, and follow these steps:
- Download the ISO file of your chosen OS and create a bootable USB drive.
- Boot from the USB drive and follow the on-screen instructions to install the OS.
- Configure the OS settings as prompted, including setting up the administrator account.
Initial Configuration and Network Setup
After installing the OS, configure your server’s network settings. This involves setting a static IP address, configuring the subnet mask, and setting up the default gateway.
- Access your router’s configuration page to reserve an IP address for your server.
- Configure the network settings on your server using the reserved IP address.
Creating User Accounts and Permissions
Finally, create user accounts and set appropriate permissions to control access to your server’s files and folders.
- Create user accounts for those who need access to the server.
- Assign permissions to each user account, determining what actions they can perform on the server.
By following these steps, you’ll have a fully functional home server with controlled access, providing a secure and private file storage solution.
Configuring File Sharing and Storage
Configuring file sharing and storage on your home server is a crucial step in making your files accessible across different devices. This process involves several key steps that ensure your files are not only accessible but also secure.
Setting Up Shared Folders
The first step in configuring file sharing is to set up shared folders. This involves creating directories on your server that can be accessed by multiple users or devices. To do this, you’ll need to create the folders on your server’s storage drive and then configure the operating system to share them over the network.
For example, in a Linux-based server, you can use the mkdir command to create a new directory, and then use the chmod command to set appropriate permissions. It’s also essential to ensure that your server’s firewall settings allow file sharing protocols to pass through.
Implementing File Permissions
After setting up shared folders, the next step is to implement file permissions. File permissions determine who can read, write, or execute files within the shared folders. Properly configuring permissions is crucial for maintaining the security and integrity of your data.
Most server operating systems allow you to set permissions at the user or group level. For instance, you can grant read-only access to certain users while allowing others to edit files. It’s a good practice to follow the principle of least privilege, where users are given only the permissions they need to perform their tasks.
Configuring Access Protocols
To access your shared files, you’ll need to configure access protocols such as SMB (Server Message Block), NFS (Network File System), or FTP (File Transfer Protocol). The choice of protocol depends on your specific needs and the devices you use.
For example, SMB is commonly used in Windows environments, while NFS is often used with Linux and macOS systems. FTP is a good option for transferring large files over the internet. Your server’s operating system will have built-in support for these protocols, and you’ll need to configure them according to your requirements.
Remote Access Configuration
Finally, configuring remote access allows you to access your home server from outside your home network. This can be achieved through VPN (Virtual Private Network) or by setting up port forwarding on your router. Ensuring that your remote access method is secure is paramount to prevent unauthorized access to your server.
By following these steps, you can create a robust and secure file sharing and storage system on your home server, making it easier to access and manage your files from any device.
Accessing Your Server from Different Devices
After montar seu servidor caseiro, you’ll want to access it from multiple devices, including desktops, laptops, and mobile devices. This flexibility is one of the key benefits of having a home server, allowing you to work or access your files from anywhere within your network.
Windows, Mac, and Linux Clients
To access your server from different operating systems, you’ll need to configure the appropriate protocols. For Windows clients, setting up SMB (Server Message Block) sharing is a common approach. Mac users can access the server using AFP (Apple Filing Protocol) or SMB. Linux users typically use NFS (Network File System) or SMB, depending on their distribution and preferences.
Configuring File Sharing Across Different Operating Systems:
| Operating System | Primary Protocol | Alternative Protocols |
|---|---|---|
| Windows | SMB | NFS (with additional setup) |
| Mac | AFP/SMB | NFS |
| Linux | NFS/SMB | AFP (less common) |
Mobile Access from iOS and Android
For mobile access, various apps can connect to your home server. For instance, FileBrowser for Android and FileExplorer for iOS can connect to your server using SMB, FTP, or other protocols, depending on your server configuration.
Web-Based Access Options
Some server configurations allow for web-based access, using a web interface to access files. This can be particularly useful for accessing your server when you’re away from your home network.
VPN Setup for Secure Remote Access
To securely access your server from outside your home network, setting up a VPN (Virtual Private Network) is recommended. This encrypts your connection, ensuring that your data remains secure. Server configuration tips include choosing a VPN solution that integrates well with your server’s operating system.
Securing Your Home File Server
Protecting your home server from potential threats requires a multi-faceted approach. A home file server, while convenient for storing and sharing files, can also be a vulnerability if not properly secured.
Implementing Strong Authentication
One of the first lines of defense is implementing strong authentication methods. This includes setting up complex passwords, enabling two-factor authentication (2FA) where possible, and ensuring that all user accounts have appropriate permissions.
Firewall Configuration
Configuring a firewall is another critical step. A firewall acts as a barrier between your server and the internet, controlling incoming and outgoing network traffic based on predetermined security rules. Proper configuration can significantly reduce the risk of unauthorized access.
Encryption Options for Sensitive Data
For an additional layer of security, consider encrypting sensitive data stored on your server. Encryption ensures that even if unauthorized access is gained, the data will be unreadable without the decryption key.
Regular Security Updates and Monitoring
Regularly updating your server’s operating system and software is vital to patch security vulnerabilities. Additionally, monitoring your server’s activity can help detect and respond to potential security incidents in a timely manner.
| Security Measure | Description | Importance Level |
|---|---|---|
| Strong Authentication | Complex passwords and 2FA | High |
| Firewall Configuration | Control incoming/outgoing traffic | High |
| Data Encryption | Protect sensitive data | Medium |
| Regular Updates | Patch security vulnerabilities | High |
By implementing these security measures, you can significantly enhance the protection of your home file server, ensuring that your data remains safe from potential threats.
Conclusion: Maintaining and Troubleshooting Your Server
Now that you’ve successfully set up your home server using our server installation tutorial, it’s essential to maintain it regularly to ensure optimal performance. Regularly check for updates for your operating system and installed software to keep your server secure.
To troubleshoot common issues, start by checking the server’s logs for error messages. This can help you identify problems such as connectivity issues or permission errors. If you’re experiencing issues with file sharing, verify that your network settings are configured correctly and that the necessary ports are open.
When it comes to maintaining your server, consider implementing a backup strategy to protect your data. This can include using external hard drives or cloud storage services. By following these tips and staying up-to-date with the latest best practices for how to set up a server, you can enjoy a reliable and efficient home server for years to come.
FAQ
What are the basic requirements for setting up a home server?
The basic requirements include a suitable processor, adequate RAM, storage drives, a network interface, and a power supply. The specific requirements may vary depending on the intended use of the server.
How do I choose the right operating system for my home server?
The choice of operating system depends on your specific needs, such as the type of files you want to store, the devices you need to access the server from, and your level of technical expertise. Popular options include Linux distributions like Ubuntu Server and Debian, Windows Server, and specialized NAS operating systems like FreeNAS and OpenMediaVault.
What are the benefits of using a DIY server versus a NAS device?
A DIY server offers more customization options and can be tailored to your specific needs, whereas a NAS device is generally easier to set up and manage. DIY servers can also be more cost-effective in the long run, but may require more technical expertise.
How do I ensure the security of my home server?
To secure your home server, implement strong authentication methods, configure the firewall, encrypt sensitive data, and perform regular security updates and monitoring. You should also consider setting up a VPN for secure remote access.
Can I access my home server from outside my home network?
Yes, you can access your home server from outside your home network by configuring remote access options, such as setting up a VPN or using web-based access. You should ensure that you have implemented adequate security measures to protect your server from unauthorized access.
What are the most common use cases for home servers?
Common use cases for home servers include file storage and sharing, media streaming, backup and disaster recovery, and home automation. You can also use a home server to host your own website or applications.
How do I configure file sharing and storage on my home server?
To configure file sharing and storage, you need to set up shared folders, implement file permissions, and configure access protocols such as SMB, NFS, or FTP. You should also consider setting up remote access options.
What are the energy efficiency considerations for a home server?
To minimize energy consumption, you can choose energy-efficient hardware components, configure your server to run in a low-power state when not in use, and consider using a UPS (uninterruptible power supply) to reduce power fluctuations.
